Handmade. Adventure Ready.

Handmade. Adventure Ready.

Blog Post from Neil on his Solace 16 XL kit
January 03, 2024 3 min read
We are lucky to have one of our recent builders make a blog with helpful comments and inquiries as his is building the Solace 16 XL kit. Neil has some helpful advice and input on our kits and things that builders should consider when beginning the kit. He also has comments on his interactions with us at Timber Boatworks. Neil has completed his first kit, and has begun his second Solace 16 kit. Neil has also customized the deck with Mica Pigments in epoxy to accent the deck and coaming in teal blue, which is a nice and easy way to add to your kayak without affecting its durability or greatly increasing the time on the project. Some of Neil’s comments I would like to emphasize and give more information so that the builder has the best experience building a Mahogany Kayak kit.
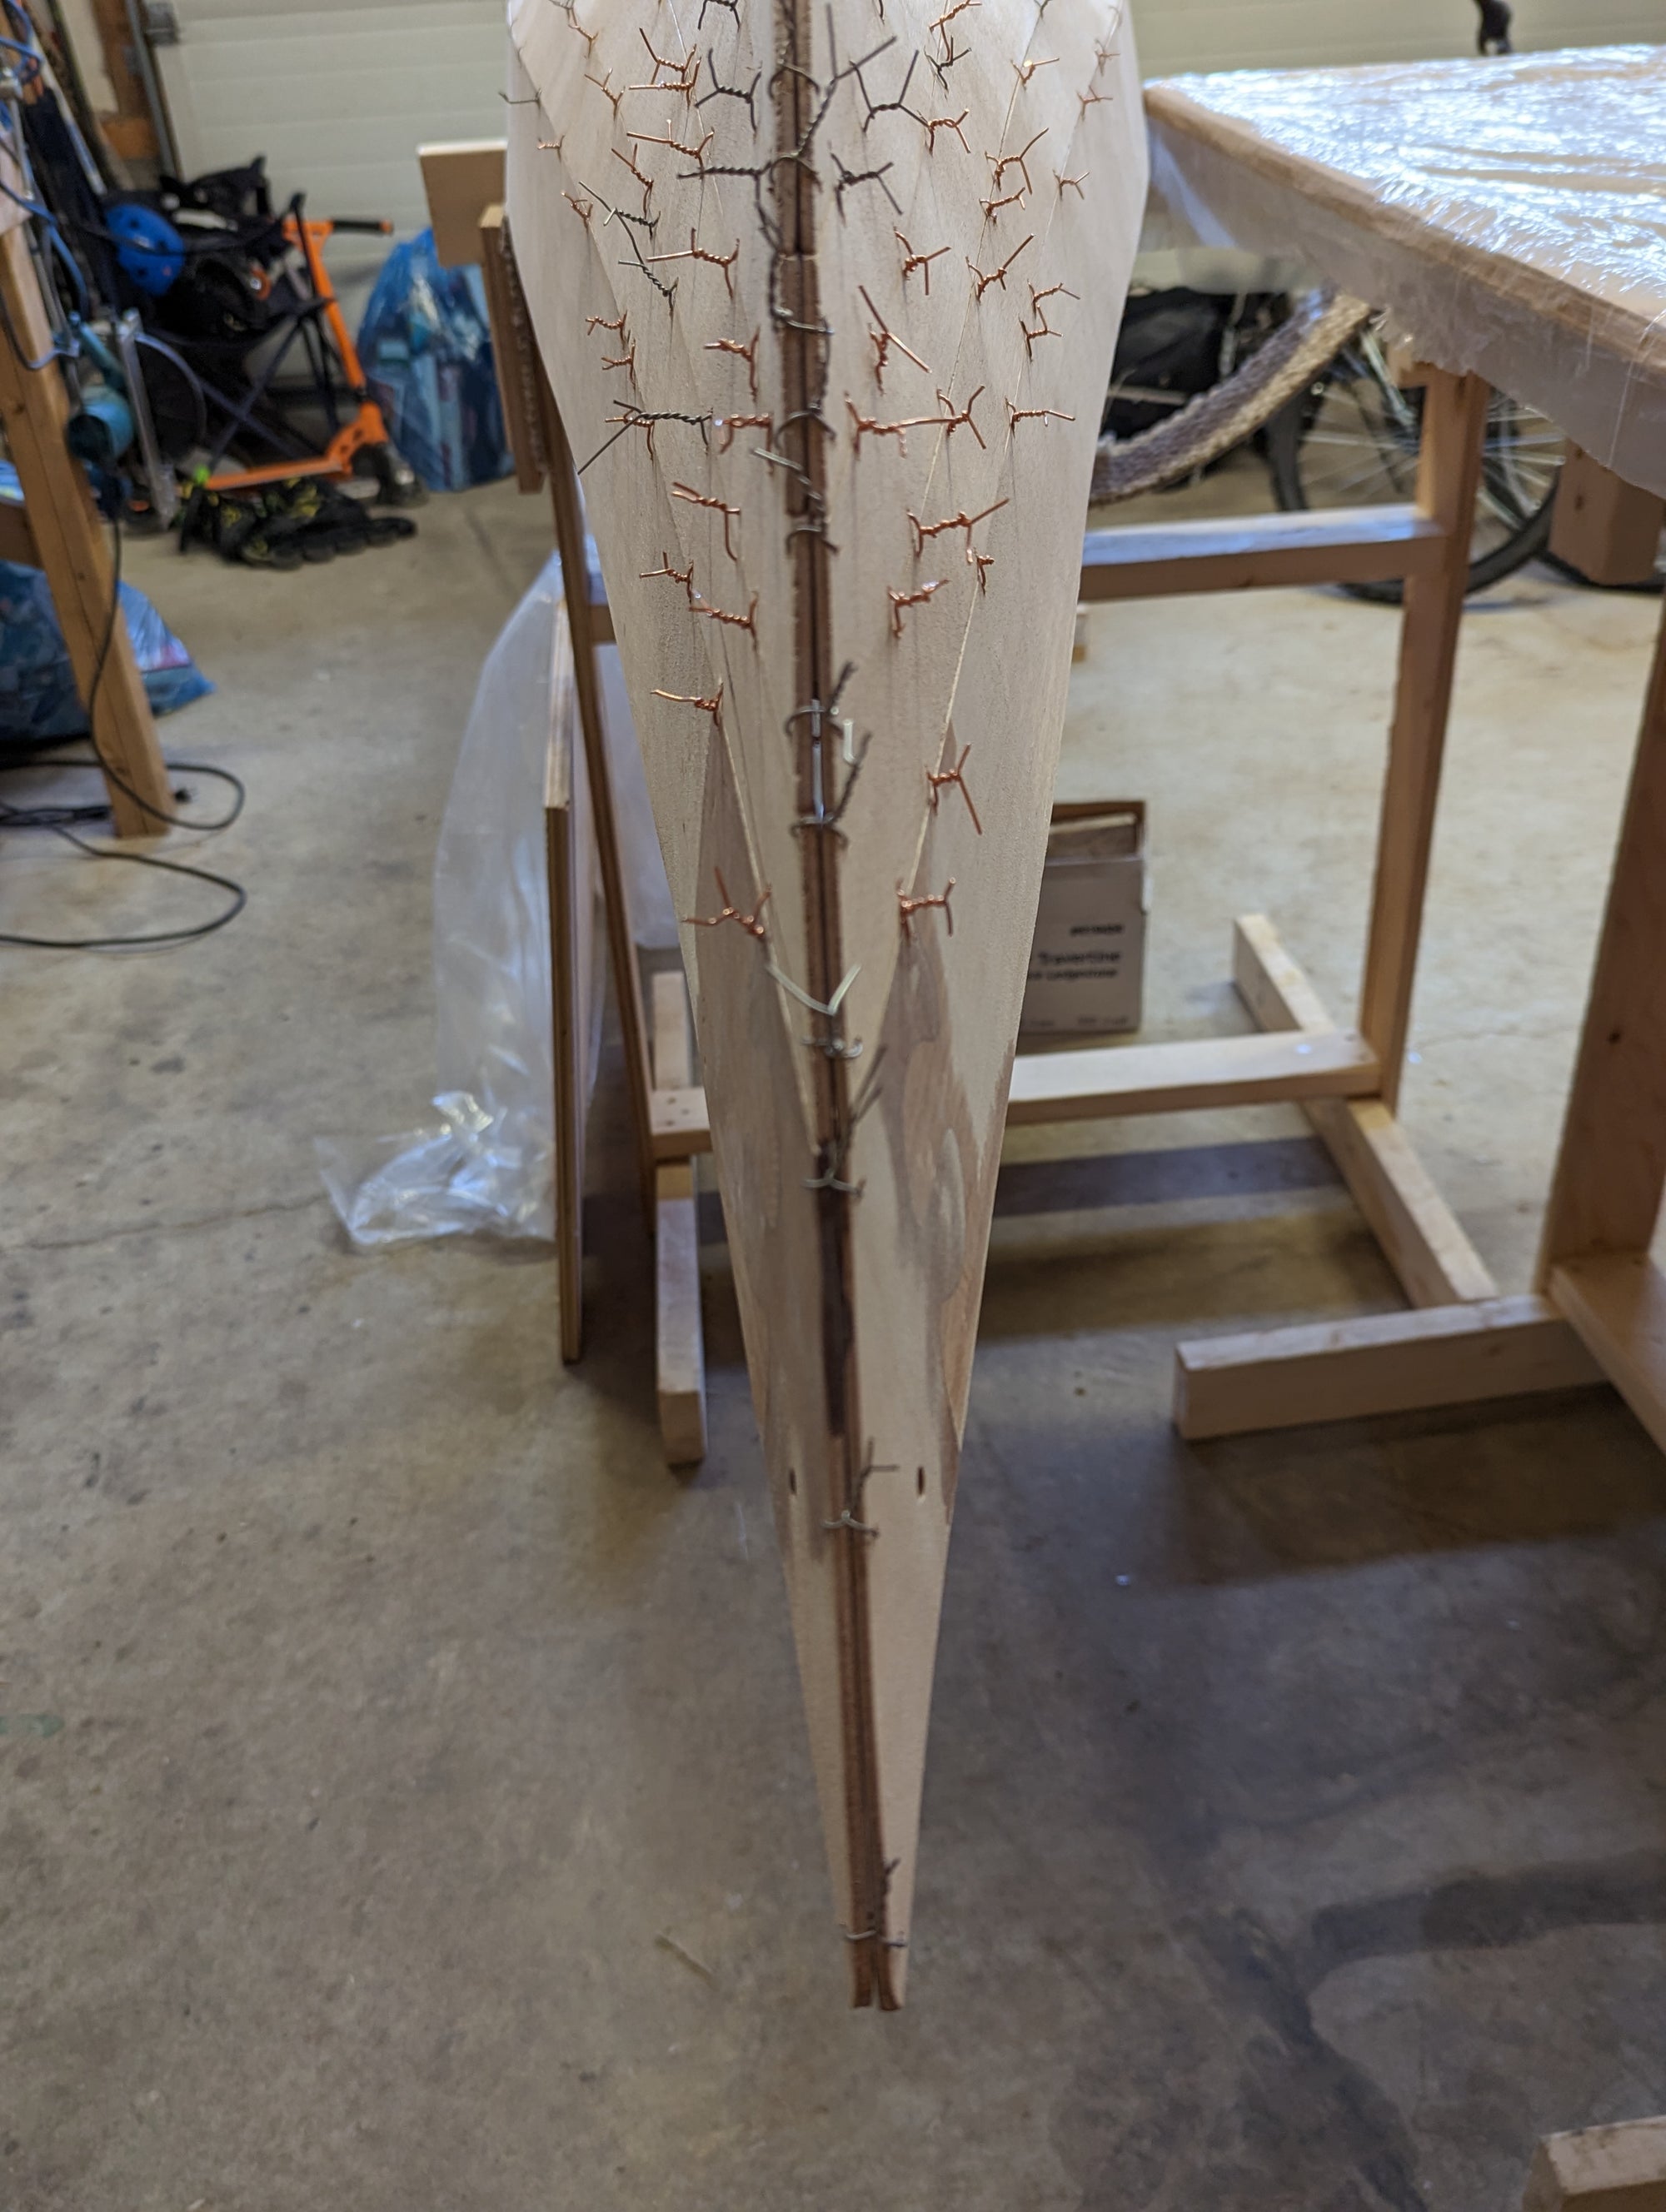
His blog begins with a short video of this completed Solace 16 XL, which has the teal Mika Pigment on the deck and varnish. This kit has 5 hull panels and 2 deck panels, which gives the builder an opportunity to stain, wood burn, paint and epoxy piment. Neil has chosen to pigment the sheer line panel and the top coaming, which creates a nice contrast with the natural wood pattern on the hull and deck. The pigment in epoxy is applied in multiple thin coats with a foam roller and foam brush for the best application. Pigment is added to a maximum of 10% by volume so that the epoxy can be applied very smooth and suspend the pigment colour. If you only apply one coat the pigment will sink to the bottom of the epoxy and not have the shinny effect. Neil had applied the epoxy using this method and the result is even application and effect of the pigment. In Neils Blog he has posted two videos of the final result of his epoxy pigmenting and the viewer can see the benefits of his design and application of the pigment.
https://fastlearning.blogspot.com/2024/01/video-completed-boatcrafttimberworks.html
https://fastlearning.blogspot.com/2024/01/video-kayak-from-boatcrafttimberworks.html
When working with pigments or additives it is crucially important to not add to much into the epoxy mixture. Depending on the intended result of the additive in the epoxy, it is beneficial to add less or more additive if it is being used as a fillet, body filler or top finish. The thicker the materials are better for shaping and sanding, the thinner materials will leave a smoother finish. With the application of pigments in a flat opaque colour, we want to apply many thin coats with the pigment suspended in the material to have to most light reflect off the colour. Having material floating in the epoxy will make it have the most brilliance, as well as make it easy to refinish because you are not able to sand all the way through the colour. When mixing powder or liquid pigments into epoxy or poly-urethane we do not want too affect the adhesive quality of the epoxy. If there is too much matrix (floating particle) in the epoxy, we can starve the epoxy and not have enough to bond all of the additive. This will lead to fracturing and cracking later. Always mix pigments in the correct ratio according to your purpose.
Neil has some great advice on what to do and what to avoid when starting the kit. He begins with how to understand the marking tabs and seat tabs on the panels. He emphasizes reading and understanding the manual for each task before beginning the task. Timber Boatworks offers Youtube tutorials to help the builder, however they are not a replacement for the information provided in the manual. Neil has some advice on tools, like wire twisting pliers and a soldering iron to help during the stitch and glue process. He also recommends having Acetone handy to wipe up any epoxy drips to save time sanding. These are all great ideas for how to get into building the kit, and are so easily overlooked.
This is a nice contrast to the natural mahogany colour.
Great work Neil! We appreciate your advice and your blog.
Subscribe
Sign up to get the latest on sales, new releases and more …